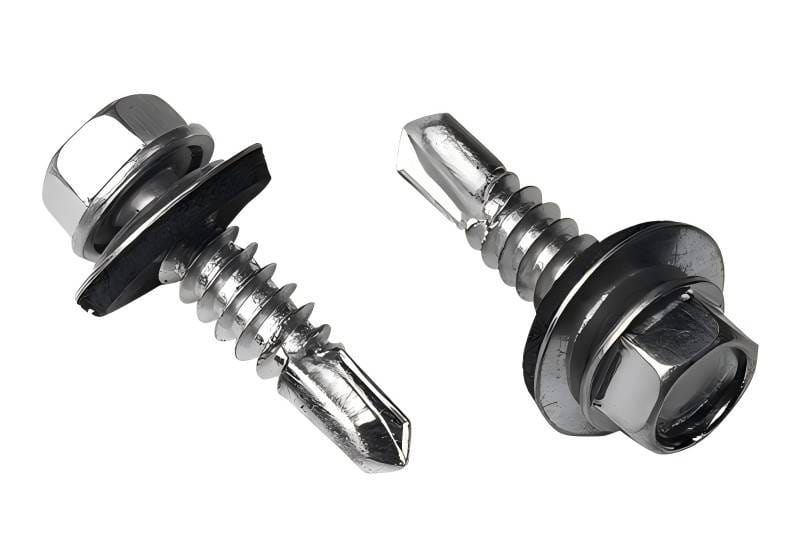
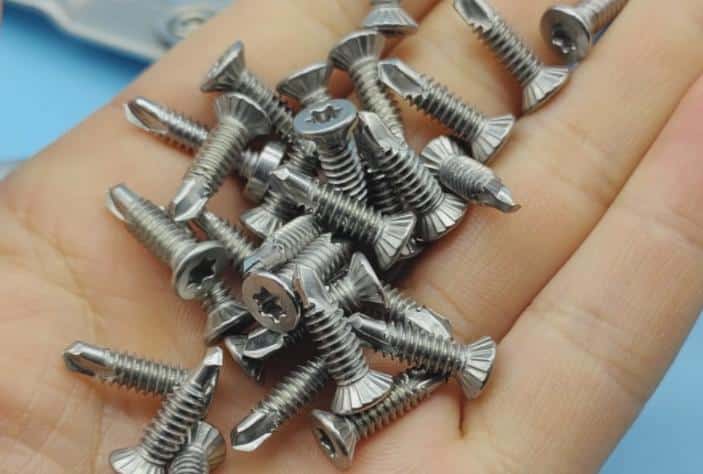
Bolts play a fundamental role in securing mechanical structures and systems. Their failure can lead to severe consequences, ranging from equipment malfunctions to catastrophic structural collapse. Bolt failure analysis is crucial for understanding the reasons behind such failures and preventing their recurrence. This article explores common bolt failure modes with their features and causes, methods for their analysis and solutions to prevent future such issues.
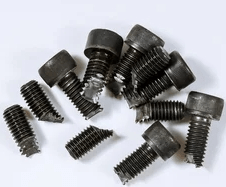
9 Common Bolt Failure Modes
This chart provides an overview of different bolt failure modes, their characteristics, and typical causes to assist in identifying and preventing bolt failure issues.
| Failure Mode | Description | Characteristics | Common Causes |
| Overload Failure | Occurs when a bolt is subjected to forces beyond its strength. | Fracture, excessive elongation. | Excessive torque, miscalculated loads, unforeseen forces. |
| Fatigue Failure | Caused by repeated loading and unloading cycles leading to crack formation. | Cracks at threads or root, striations. | Dynamic loading, poor design, improper preload. |
| Corrosion Failure | Deterioration of a bolt due to chemical reactions with the environment. | Rust, pitting, surface irregularities. | Moisture, chemicals, dissimilar metals (galvanic action). |
| Thread Stripping/Shearing | Damage or loss of threads, compromising the joint’s integrity. | Stripped or sheared threads. | Over-torquing, insufficient thread engagement. |
| Vibration-Induced Loosening | Loosening of bolts due to continuous or cyclic vibrations. | Loss of preload, backing out of threads. | Insufficient preload, no locking mechanisms. |
| Hydrogen Embrittlement | Brittle fracture due to hydrogen absorption in the bolt material. | Cracking at low stress levels. | Exposure to hydrogen-rich environments, electroplating. |
| Galling and Seizing | Adhesive wear that leads to parts locking together under pressure. | Scoring, material transfer on surfaces. | Over-tightening, insufficient lubrication. |
| Creep Failure | Gradual deformation under constant stress, even below yield strength. | Slow loss of preload. | High-temperature environments, material softening. |
| Bending Failure | Bolt deforms or breaks due to bending forces. | Bending at mid-shaft or near threads. | Improper joint design, unexpected bending loads. |

How to Identify Bolt Failures?
1. Visual Inspection
Visual inspection is often the first step in analyzing bolt failure. This method involves checking the bolt and surrounding components for visible signs of damage, including:
- Cracks: Fractures, often at the threads or head of the bolt, indicating fatigue or overloading.
- Corrosion: Rust or pitting on the bolt surface suggests environmental degradation or material incompatibility.
- Thread Damage: Stripped or worn threads point to improper installation or fatigue.
- Striations and Wear: Evidence of wear from repeated stress or motion, suggesting fatigue or vibration-related failure. Visual inspection can be done with the naked eye or with magnification tools for finer details.
2. Microscopic Examination
A more detailed analysis can be conducted using microscopic examination techniques, such as Scanning Electron Microscopy (SEM), to study fracture surfaces and failure characteristics at a much higher magnification. This helps identify:
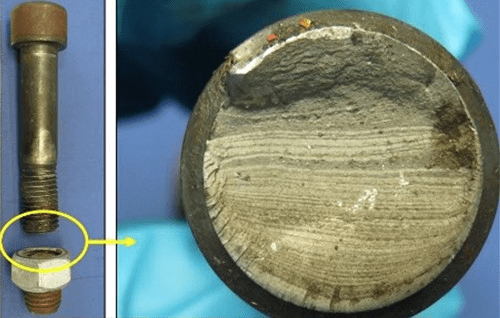
- Fatigue Cracks: Scanning Electron Microscopy can reveal fatigue fracture patterns, which appear as a series of concentric rings or striations on the failure surface.
- Stress Concentrations: Microscopic analysis can highlight areas where cracks initiated, often at defects or stress risers like notches, poor thread fit, or corrosion pits.
- Fracture Morphology: Scanning Electron Microscopy can distinguish between brittle fractures (often associated with overloading or material defects) and ductile fractures (linked to fatigue or gradual overstress).
3. Fractography
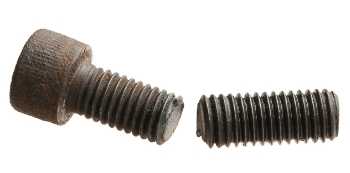
Fractography is a specialized technique for analyzing fracture surfaces to determine how and why a bolt failed. By closely examining the fracture surface, experts can identify:
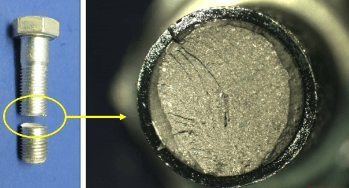
- Fatigue Failure: Characterized by smooth, shiny surfaces with striation marks that indicate cyclic loading.
- Overload Failure: Features a rough, jagged fracture with a more irregular appearance, often seen when a bolt is subjected to forces beyond its yield strength.
- Corrosion Failure: Exhibits evidence of material degradation, often appearing as uneven, pitted surfaces.
- Thread Shear: If the failure occurred at the bolt’s threads, fractured threads can indicate improper installation or overloading.
4. Material Analysis
Conducting a material analysis involves testing the composition and properties of the bolt material. Common techniques include:
- Spectrochemical Analysis: Identifying any deviations from the material’s specified composition, which could lead to weaknesses or embrittlement.
- Tensile Testing: Measuring the material’s tensile strength to assess whether the bolt was under the correct mechanical properties for its application.
- Hardness Testing: To ensure the material meets the required hardness specifications for its intended use. A material that is too soft may deform under stress, while one that is too hard may be prone to cracking.
5. Load Testing and Torque Measurement
Load testing and torque measurement can help identify whether the bolt was subjected to excessive forces. This method involves applying controlled loads or torques to a bolt to simulate operating conditions and observe its response. Common tests include:
- Torque-Tension Tests: Assessing how the bolt responds to various torque levels to ensure it is within the optimal range for the application.
- Preload Measurement: Monitoring the bolt’s tension after installation to verify if the proper preload is achieved, helping to identify under- or over-tightened bolts.
- Overload Testing: Applying increasing forces until failure to understand the exact stress at which the bolt fails.
6. Non-Destructive Testing (NDT)
Non-destructive testing (NDT) methods allow the analysis of bolts without causing damage, making it ideal for ongoing monitoring.
Common methods
- Ultrasonic Testing (UT): Used to detect internal flaws, such as cracks, voids, or inclusions, within the bolt material.
- X-Ray Inspection: Useful for detecting internal structural issues or voids that might weaken a bolt.
- Magnetic Particle Inspection (MPI): Applied to detect surface and near-surface cracks in ferromagnetic bolts by using magnetic fields and iron particles.
- Dye Penetrant Inspection (DPI): A technique for detecting surface-breaking defects, ideal for checking bolts in hard-to-reach areas.
7. Failure Mode Effect Analysis (FMEA)
Failure Mode Effect Analysis (FMEA) is a systematic approach to identify potential failure modes in a bolted connection and evaluate their effects. FMEA helps prioritize areas for improvement by:
- Analyzing the failure modes (e.g., shear, torsion, fatigue).
- Identifying the impact of each failure mode on system performance.
- Recommending design or operational changes to mitigate the risks of failure.
7 Solutions for Preventing Bolt Failures
Preventing bolt failures is crucial for maintaining the safety, reliability, and longevity of mechanical and structural systems.
1. Proper Material Selection Selecting
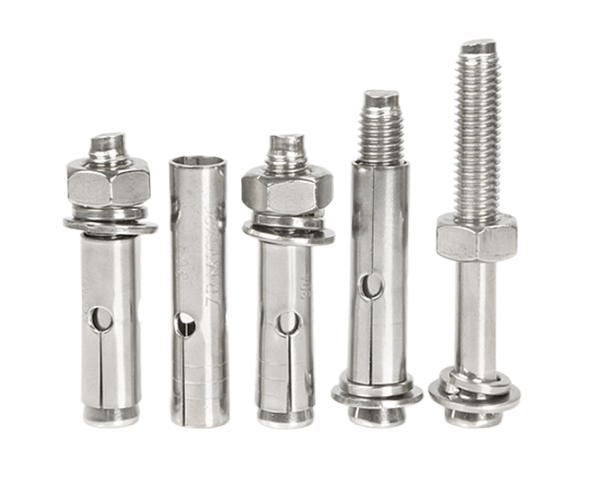
Bolts made from high-quality materials suited for the specific application is essential. For applications exposed to harsh environments, corrosion-resistant materials such as stainless steel bolts or coated bolts (e.g., zinc-coated or galvanized bolts) should be used. For high-strength applications, alloy steels with suitable heat treatment are preferable.
2. Correct Torque Application
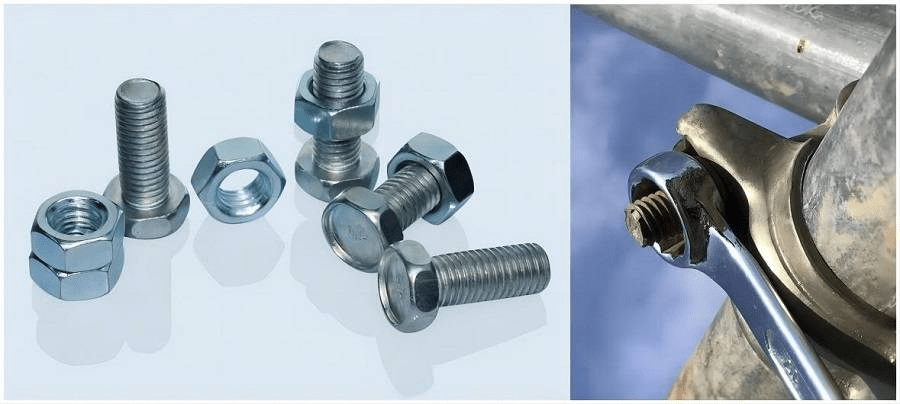
Ensuring that bolts are tightened to the manufacturer’s recommended bolt torque specifications is critical. Under-torquing can lead to vibration loosening, while over-torquing can cause bolt stretching or thread damage. Using calibrated torque wrenches or torque sensors can help maintain consistency and accuracy during installation.
3. Anti-Fatigue Measures Fatigue
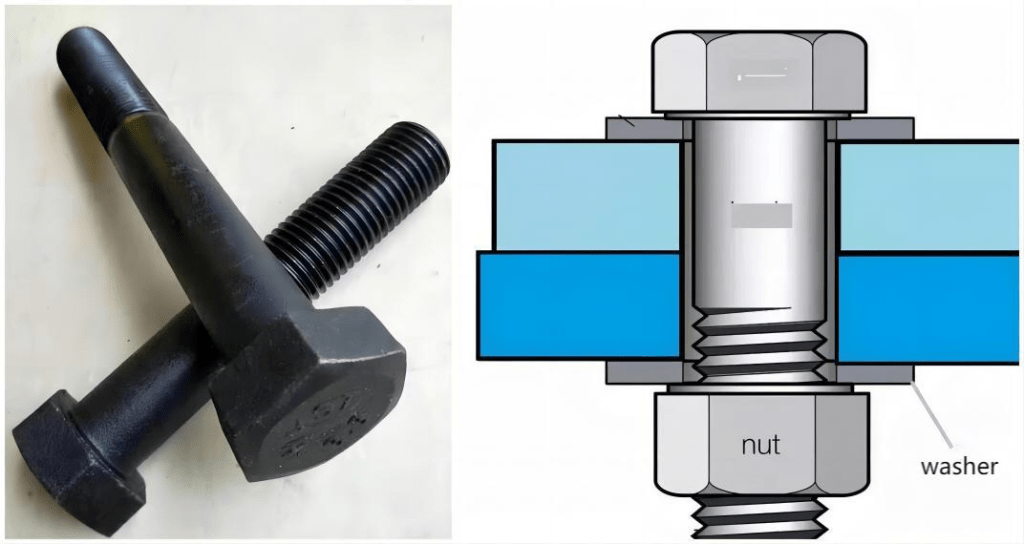
Failures can be minimized by ensuring that the bolt’s preload is appropriate and consistent. Bolts should be designed and installed to reduce cyclic loading. The use of lock washers, preloaded disc springs, or spring washers can help maintain preload over time.
4. Vibration Control
Vibration-induced bolt loosening can be mitigated through the use of specialized fasteners, such as lock nuts or self-locking bolts. Thread-locking compounds and mechanical locking devices (e.g., tab washers or split pins) can also be employed to prevent movement between the bolt and the mating surface.
5. Corrosion Prevention
Bolts exposed to moisture, chemicals, or saltwater need additional protection to resist corrosion. This can be achieved by:
- Using bolts with corrosion-resistant coatings such as zinc plating or hot-dip galvanizing.
- Applying anti-corrosive sealants or lubricants that provide a barrier against moisture.
- Regularly inspecting and maintaining bolts in corrosive environments to detect early signs of rust or damage.
6. Improved Design and Installation Practices
Engineers should design bolted joints to minimize stress concentrations and avoid loading that exceeds the bolt’s capacity. Additionally, aligning bolt threads correctly and using flat washers or spherical washers can reduce stress on bolt heads and help distribute loads evenly.
7. Regular Maintenance and Inspection
Routine inspection and maintenance are key to identifying early signs of bolt wear, fatigue, or corrosion before they lead to failures. Regular checks should focus on:
- Verifying that bolts remain properly torqued.
- Looking for signs of thread wear, cracks, or corrosion.
- Testing for preload retention, especially in critical applications.
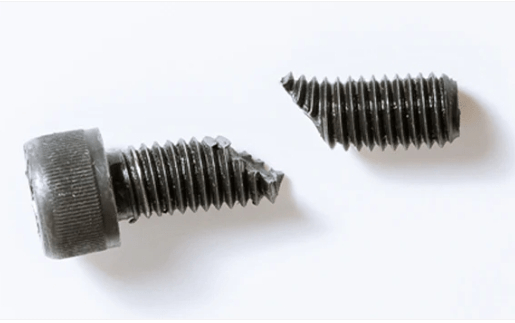
In summary, bolt failure analysis is essential for maintaining the safety and integrity of mechanical and structural systems. through understanding the various bolt failure modes and adopting a comprehensive analysis approach, industries can take preventive measures that improve the reliability of bolted joints and minimize risks associated with bolt failure.


